Gather Your Materials:
- Seed Packets: Choose your desired seeds from reputable sources. Check the seed packet for specific instructions tailored to that variety.
- Seed Starting Mix: Use a potting mix specially formulated for starting seeds. These mixes are light, well-draining, and sterile, reducing the risk of disease.
- Containers: Select containers with drainage holes to allow excess water to drain. Options include small pots, seed trays, or repurposed containers like egg cartons.
- Water: Prepare a spray bottle filled with water to moisten the soil.
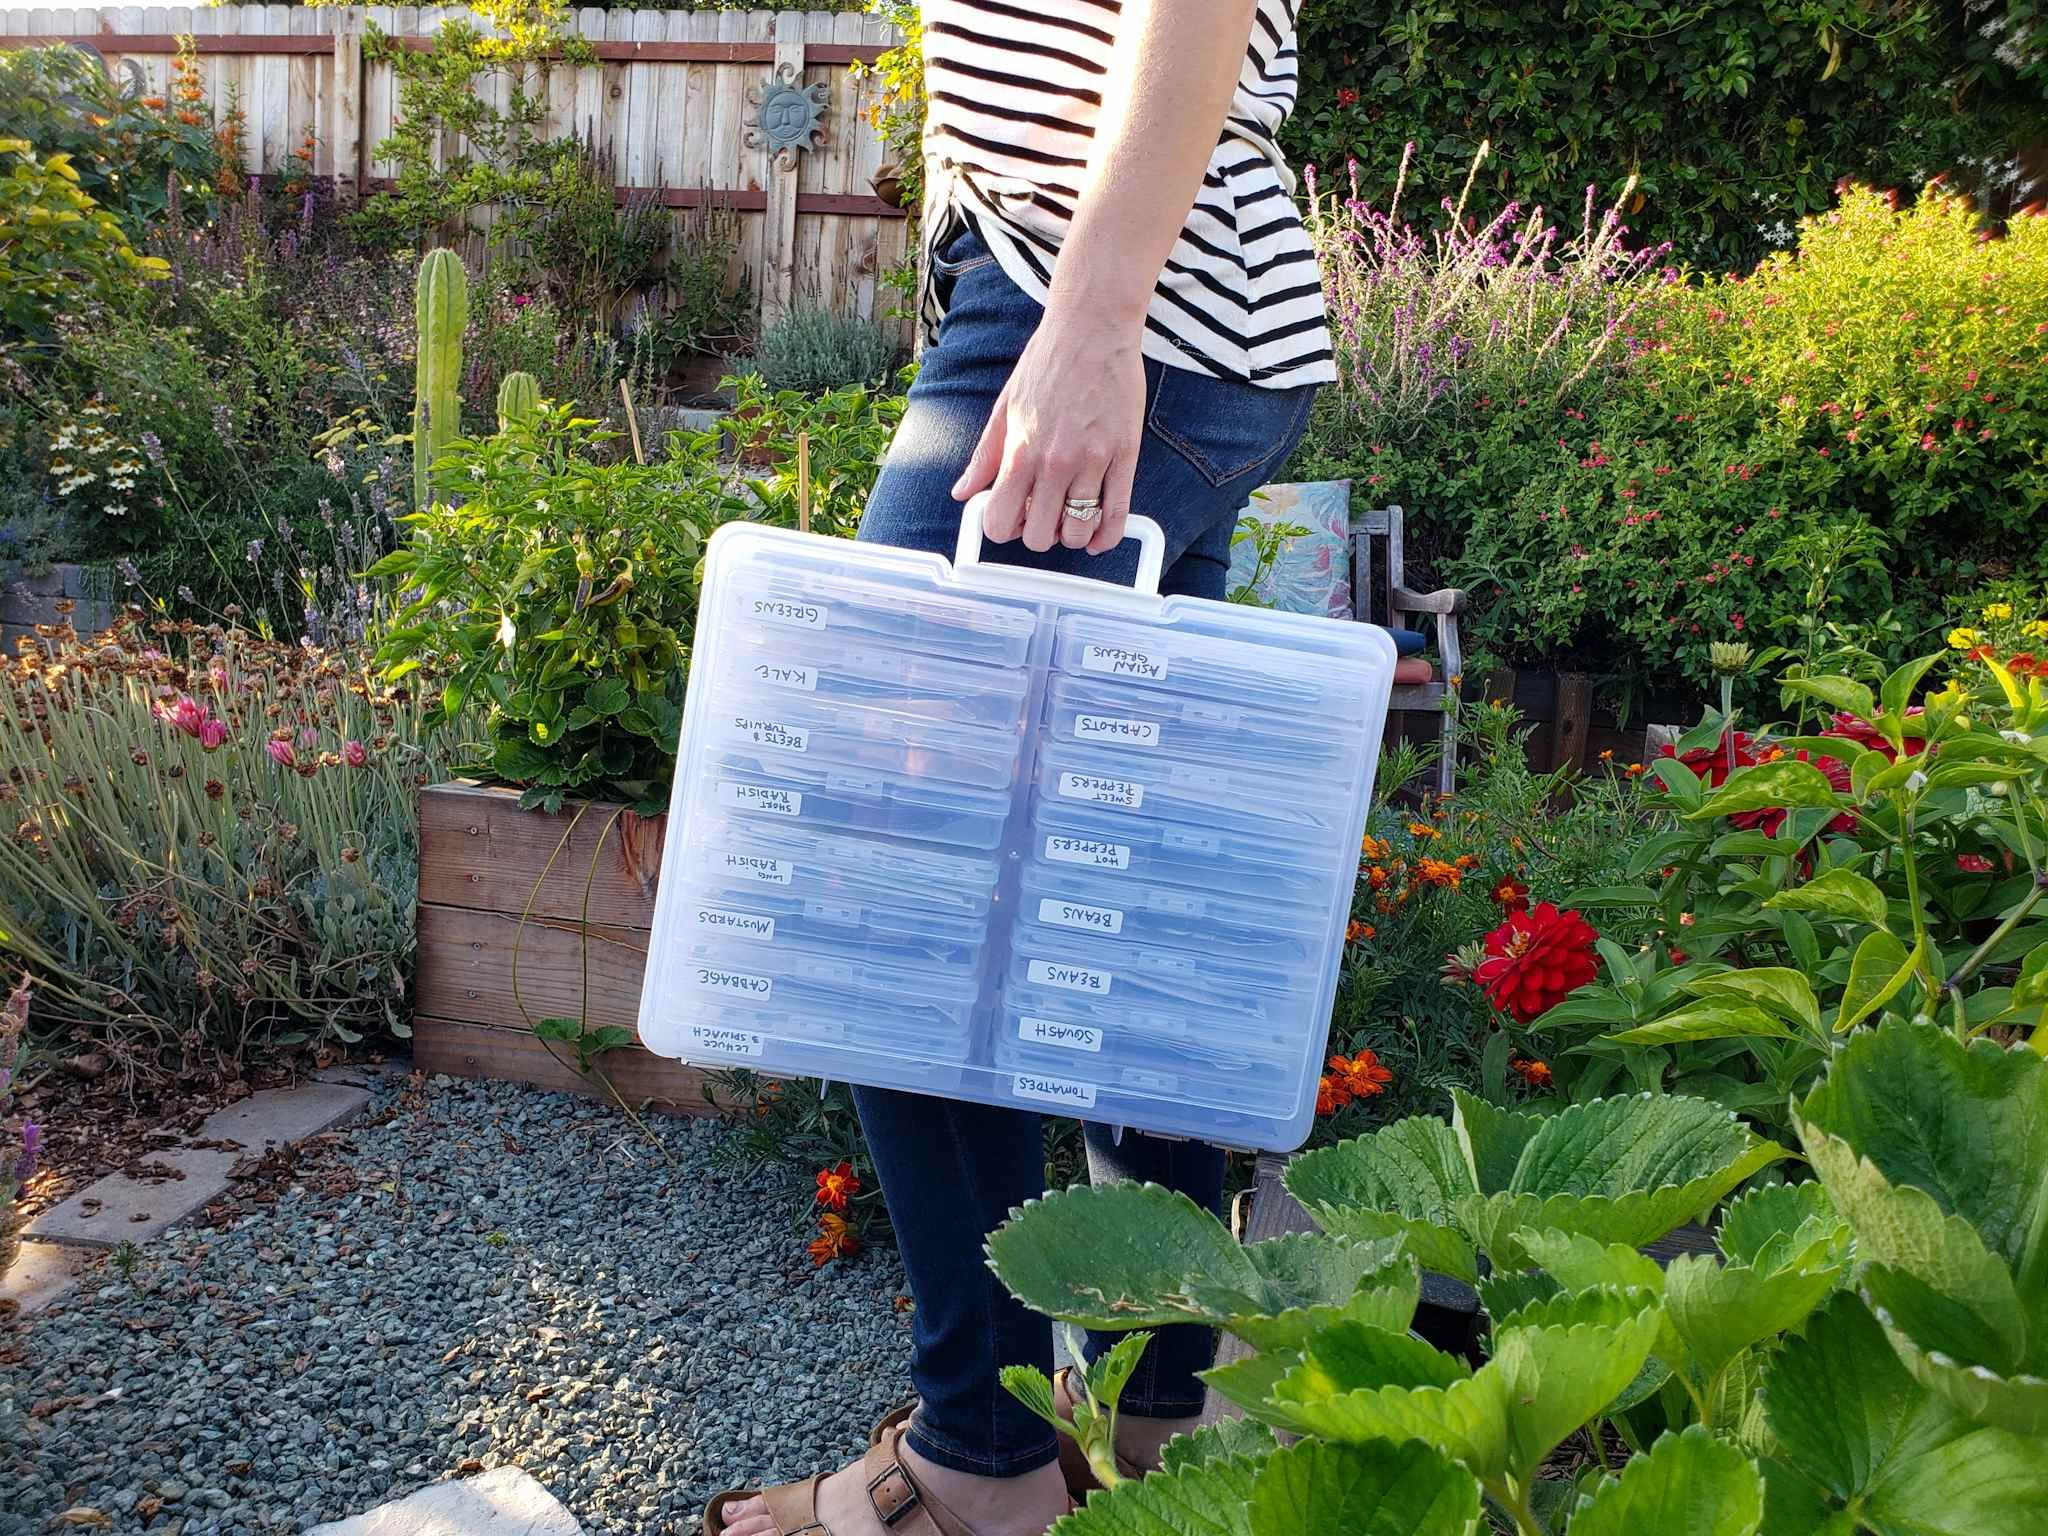
- Labels or Markers: Use labels or markers to identify the different seed types planted in each container.
Prepare the Seed Starting Mix:

- Fill the containers with seed starting mix, leaving about half an inch of space at the top.
- Gently press down on the mix to create a level surface for planting.
- Water the soil until it is evenly moist but not waterlogged.
Plant the Seeds:

- Read the seed packet carefully for specific planting instructions, such as depth and spacing.
- For small seeds, sprinkle them evenly over the surface of the soil.
- For larger seeds, make individual holes in the soil using a pencil or finger and place the seeds inside.
- Gently press the seeds into the soil to ensure good contact.
- Cover the seeds with a thin layer of seed starting mix or vermiculite.
Provide Warmth and Light:
- Place the containers in a warm location, ideally between 60-75°F (15-24°C).
- Cover the containers with plastic wrap or a humidity dome to increase moisture and warmth.
- Position the containers near a source of bright indirect light. Direct sunlight can be too intense for young seedlings.
Water and Monitor:
- Keep the soil consistently moist but not soggy. Use a spray bottle to avoid disturbing the seeds.
- Monitor the seeds regularly, checking for signs of germination. Some seeds may take a few days to a few weeks to sprout.
Thin Seedlings (Optional):
- Once seedlings have developed their first set of true leaves, you may need to thin them out to allow for proper growth.
- Gently remove weaker or overcrowded seedlings using tweezers or your fingers.
Transplant or Harden Off:
- When seedlings have developed several sets of true leaves and are strong enough, you can transplant them into individual pots or your desired growing location.
- Gradually acclimate (harden off) the seedlings to outdoor conditions by gradually exposing them to户外环境 by gradually exposing them to outdoors for a few hours each day over a week or two.
Care for the Mature Plants:
- Follow the care instructions provided on the seed packet for proper watering, fertilization, and any other specific needs of your chosen plant.
How To Plant Store Bought Seeds