How to Make a Survival Pack
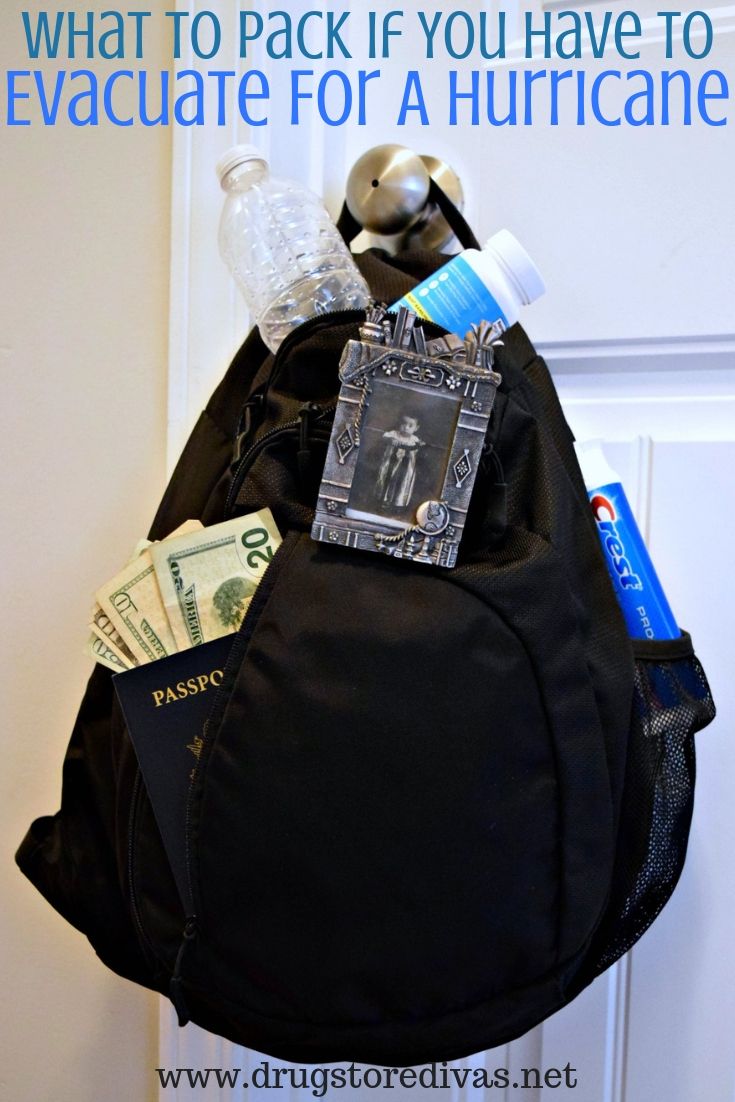
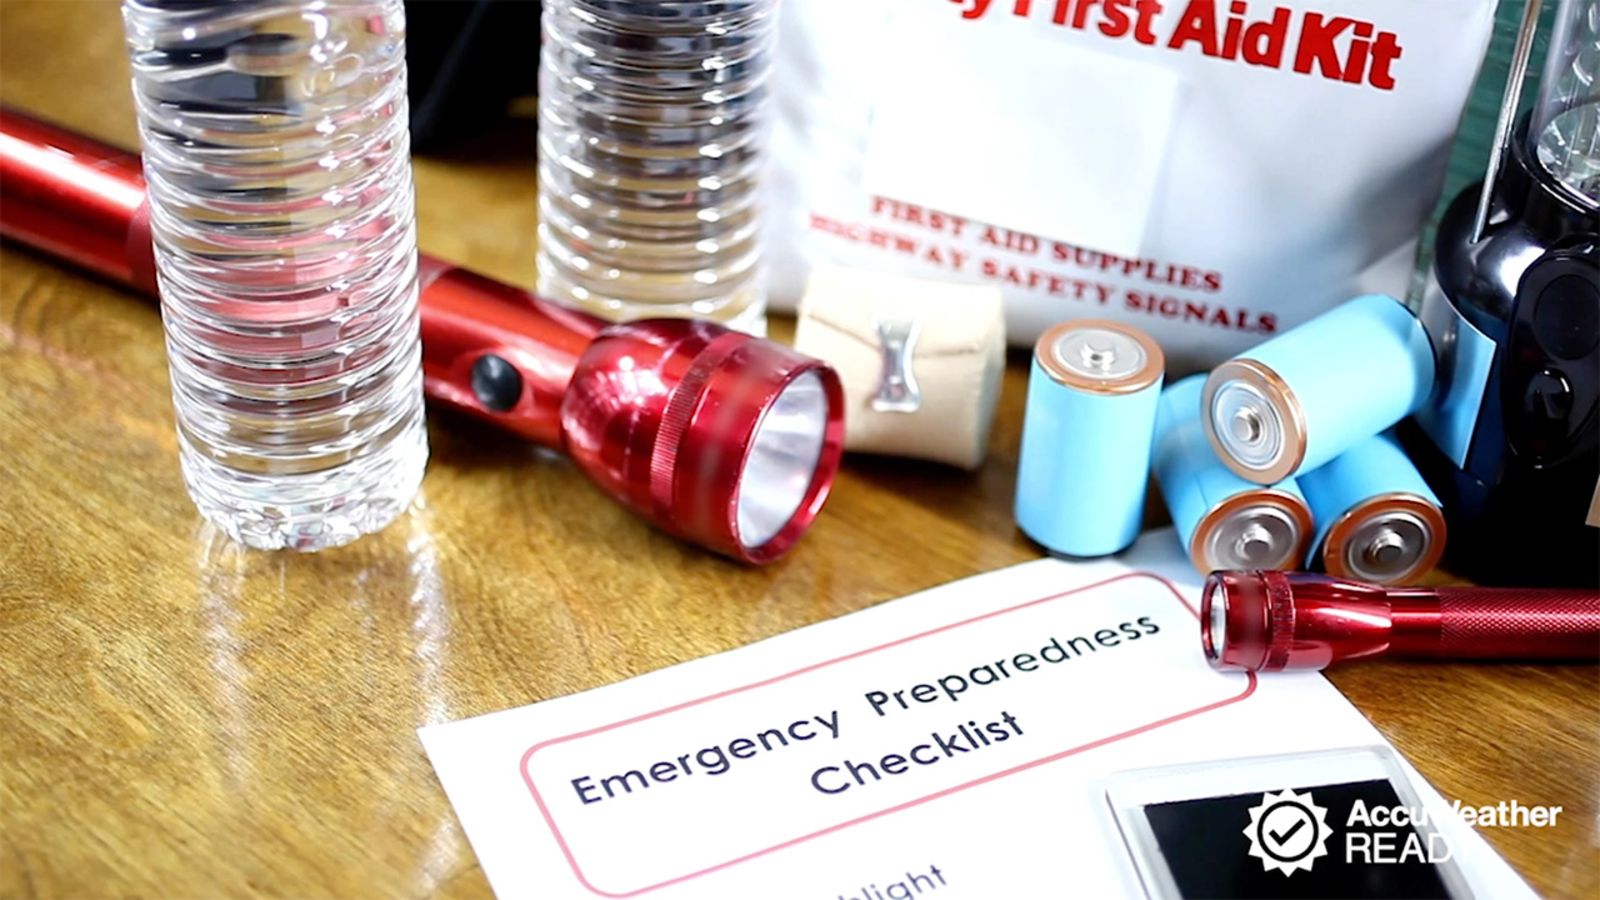
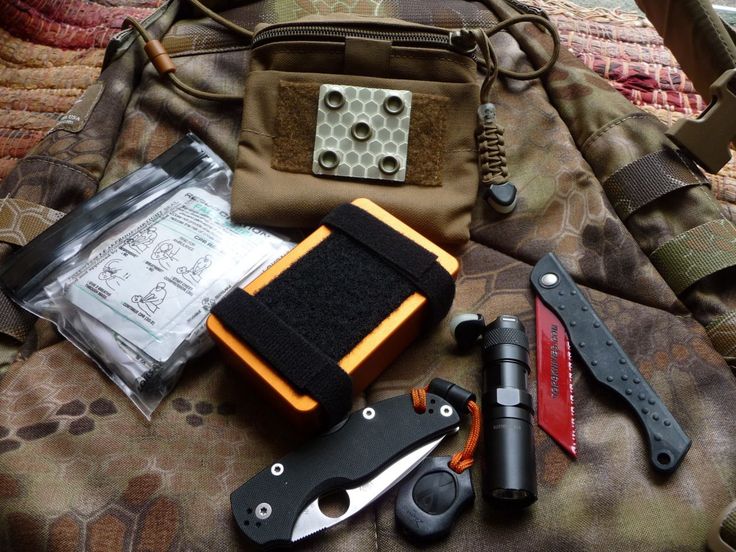
Gather necessary items. First, you will need to gather all of the necessary items for your survival pack. This can be done by making a list of essential items and then going shopping or by purchasing a pre-made survival pack. Some essential items include:
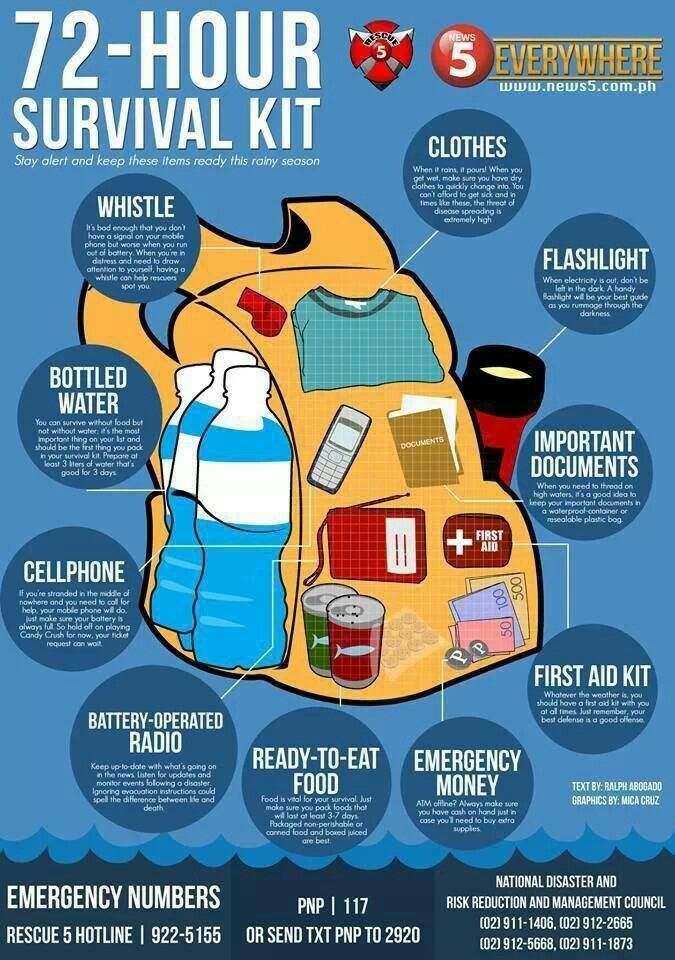
- Food and water: At least three days’ worth of non-perishable food and three liters of water.
- First aid kit: A basic first aid kit with bandages, antiseptic wipes, and pain relievers.
- Fire starter: A lighter, matches, or a fire starter kit.
- Shelter: A tarp or tent for shelter from the elements.
- Clothing: A change of clothes, including a hat, gloves, and sturdy shoes.
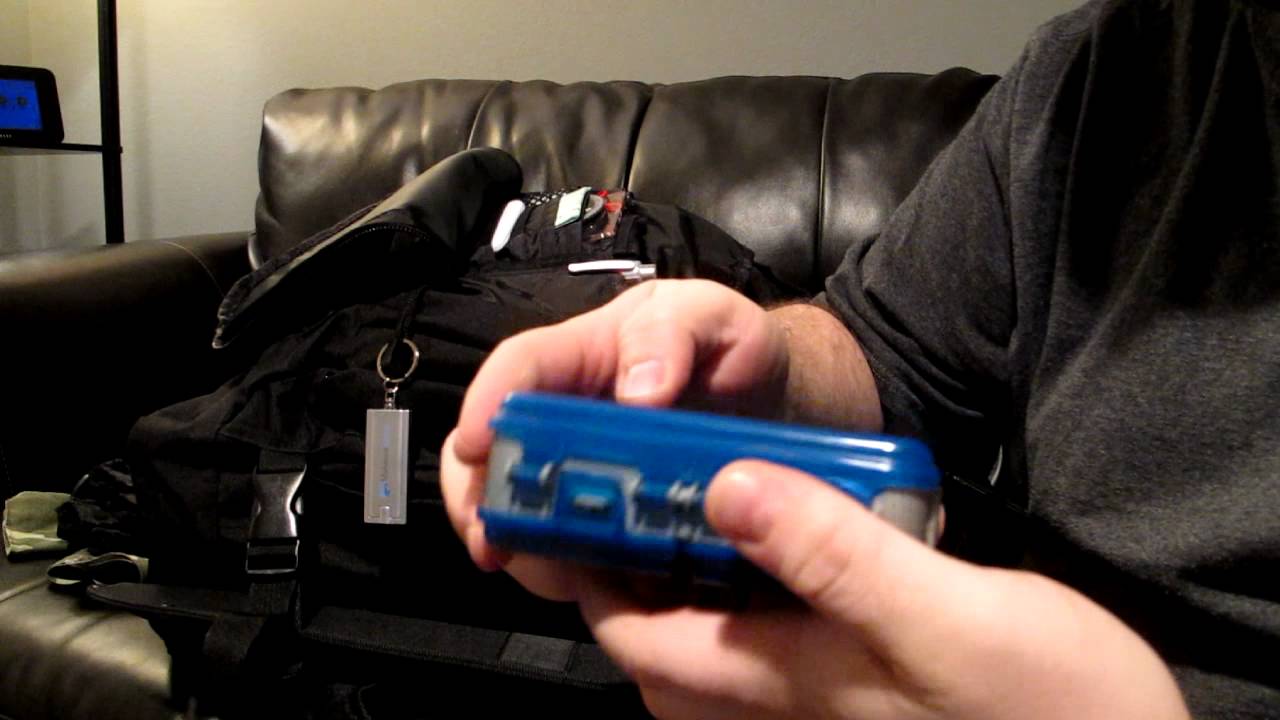
- Tools: A knife, multi-tool, or other sharp object for cutting and opening containers.
- Navigation: A map of the area, a compass, and a GPS device.
- Communication: A whistle or signal mirror for attracting attention.
- Other items: Sunscreen, insect repellent, a flashlight, batteries, and a small mirror.
Pack your items. Once you have gathered all of your items, you will need to pack them in a way that is both secure and accessible. A backpack is a good option for this, as it is easy to carry and can hold a lot of gear. Make sure to pack your items so that the heaviest items are at the bottom of the pack.
Label your pack. Once you have packed your items, be sure to label your pack clearly with your name and contact information. This will help to ensure that your pack is returned to you if it is ever lost.
Test your pack. Before you take your survival pack out on an adventure, be sure to test it out at home. Make sure that all of the items are in working order and that you know how to use them. You can also wear your pack around the house for a few hours to get used to the weight and feel of it.