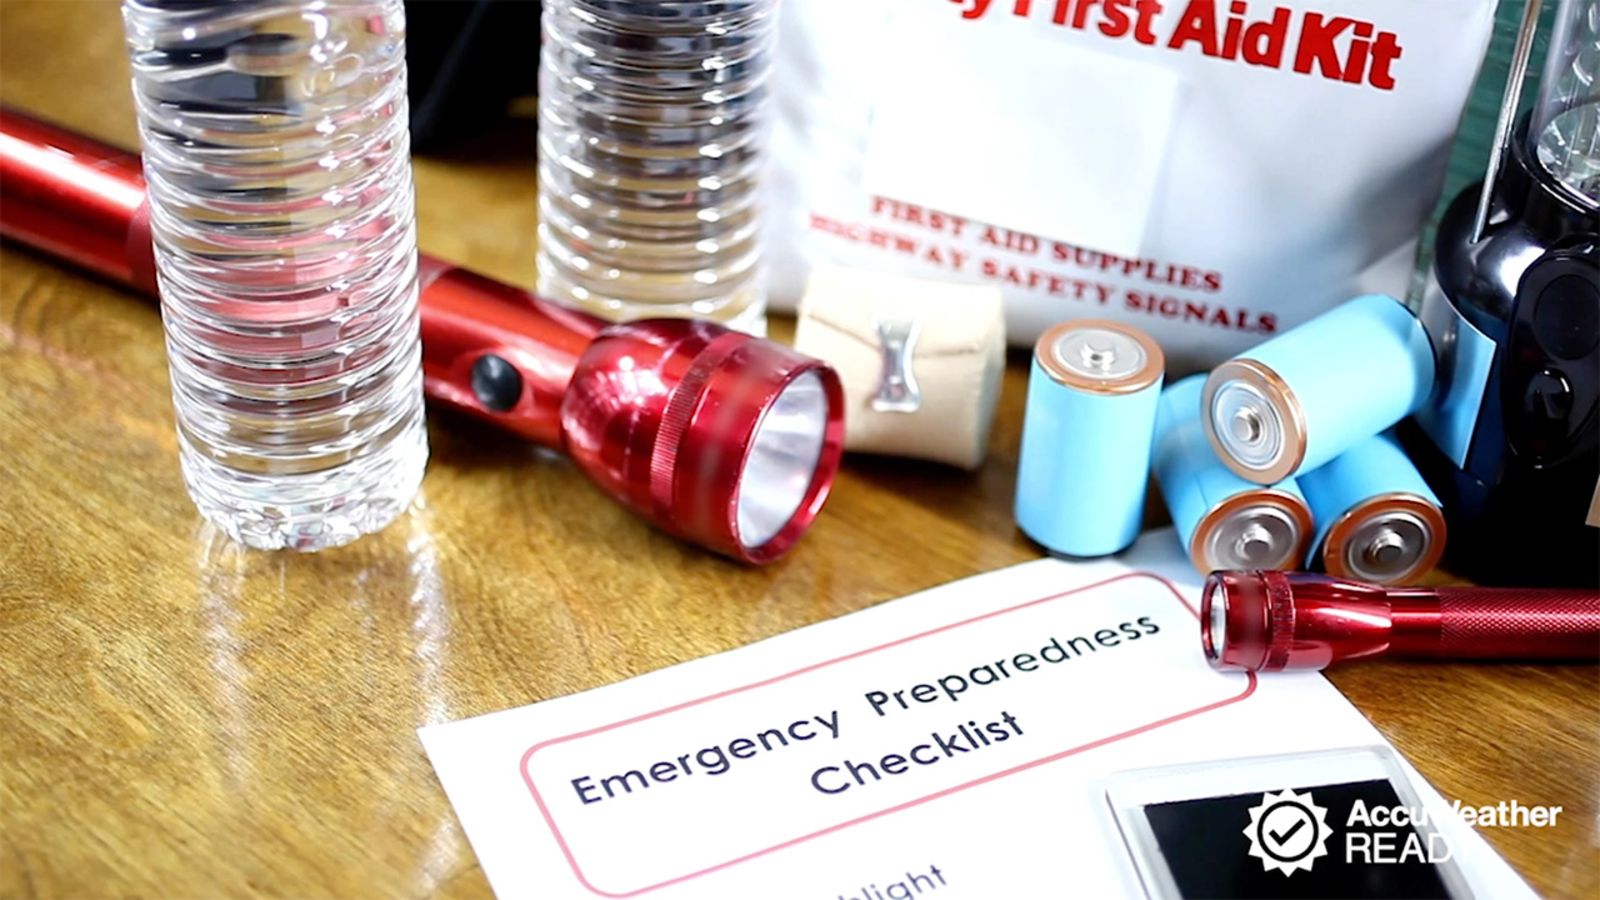
Gather Essential Supplies:

- Water: Pack bottles of non-contaminated water or water purification tablets.
- Food: Include non-perishable, high-calorie items like energy bars, nuts, and dried fruits.
- First Aid Kit: Assemble a comprehensive kit with bandages, antiseptic, pain relievers, and any essential medications.
- Knife: Choose a multipurpose, sturdy knife for various tasks.
- Flashlight: Include a battery-powered or hand-crank flashlight for illumination.
- Fire Starter: Pack matches, lighter, or flint and steel for starting a fire.
- Shelter: Items like a tarp, blanket, or emergency bivy sack provide shelter from the elements.
- Communication: Include a whistle, signaling mirror, or two-way radio for emergencies.
- Navigation: A map of the area, compass, or GPS device can guide you in the right direction.
- Tools: Include multi-tool, pliers, duct tape, cordage, and a small sewing kit for repairs.
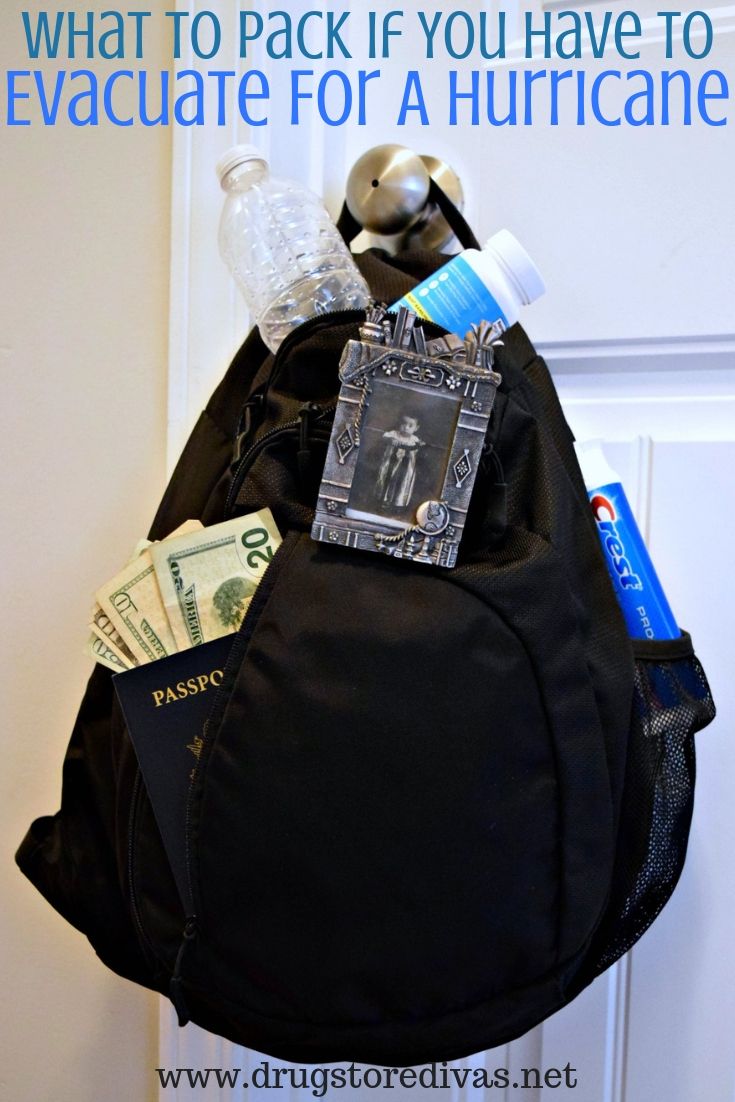
Pack the Kit:

- Use a compact, durable backpack or container that can be easily carried.
- Arrange items logically, placing frequently used items near the top.
- Make sure the kit is waterproof and airtight to protect the contents from the elements.
Organize and Maintain:

- Regularly review and update the contents of the survival kit, replacing expired items.
- Keep the kit in a readily accessible location in your home or vehicle.
- Conduct occasional practice runs to familiarize yourself with the contents and how to use them.
Survival Kit Additions for Specific Situations:
- Wilderness: Include items like a water filter, insect repellent, sun protection, and signaling devices.
- Urban: Pack items like a utility knife, self-defense tools, and basic tools for home repairs.
- Disaster Preparedness: Consider items like a radio, batteries, and a battery-powered lantern for emergencies.
How To Make A Survival Kit