“Do-It-Yourself Survival Kit: A Comprehensive Guide to Building Your Own Emergency Preparedness Kit”
An emergency survival kit is a portable collection of essential supplies and tools that can sustain an individual or group in the event of a disaster or emergency situation. Whether it’s a natural calamity like an earthquake or hurricane, a man-made crisis like a terrorist attack, or an unexpected personal emergency, having a well-prepared survival kit can make all the difference. This guide will provide you with a comprehensive understanding of what to include in your DIY survival kit and how to effectively assemble it.
Essential Supplies:

Food and Water: Pack non-perishable food items with a long shelf-life, such as canned goods, energy bars, dried fruits, and nuts. Include at least 3 days’ worth of food per person. Water is crucial, so pack at least 1 gallon per person per day.
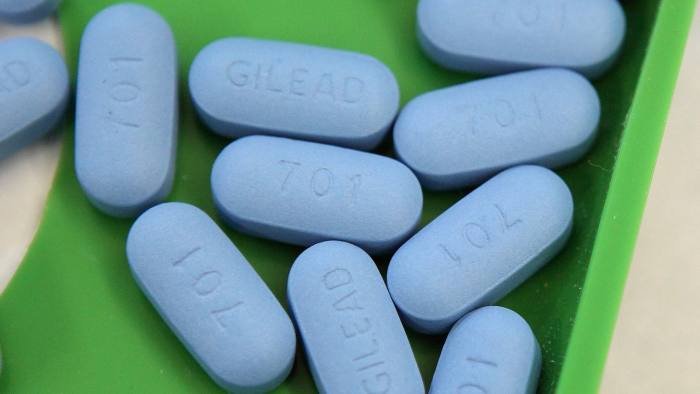
Shelter: Depending on the type of emergency, consider including a tent, tarp, or emergency blanket for temporary shelter. A first aid kit stocked with bandages, antiseptic wipes, pain relievers, and basic medications is vital.
Fire Starter: Pack a lighter, matches, or a fire starter kit to provide heat, cook food, and signal for help. Remember to include fuel like Sterno or tinder.
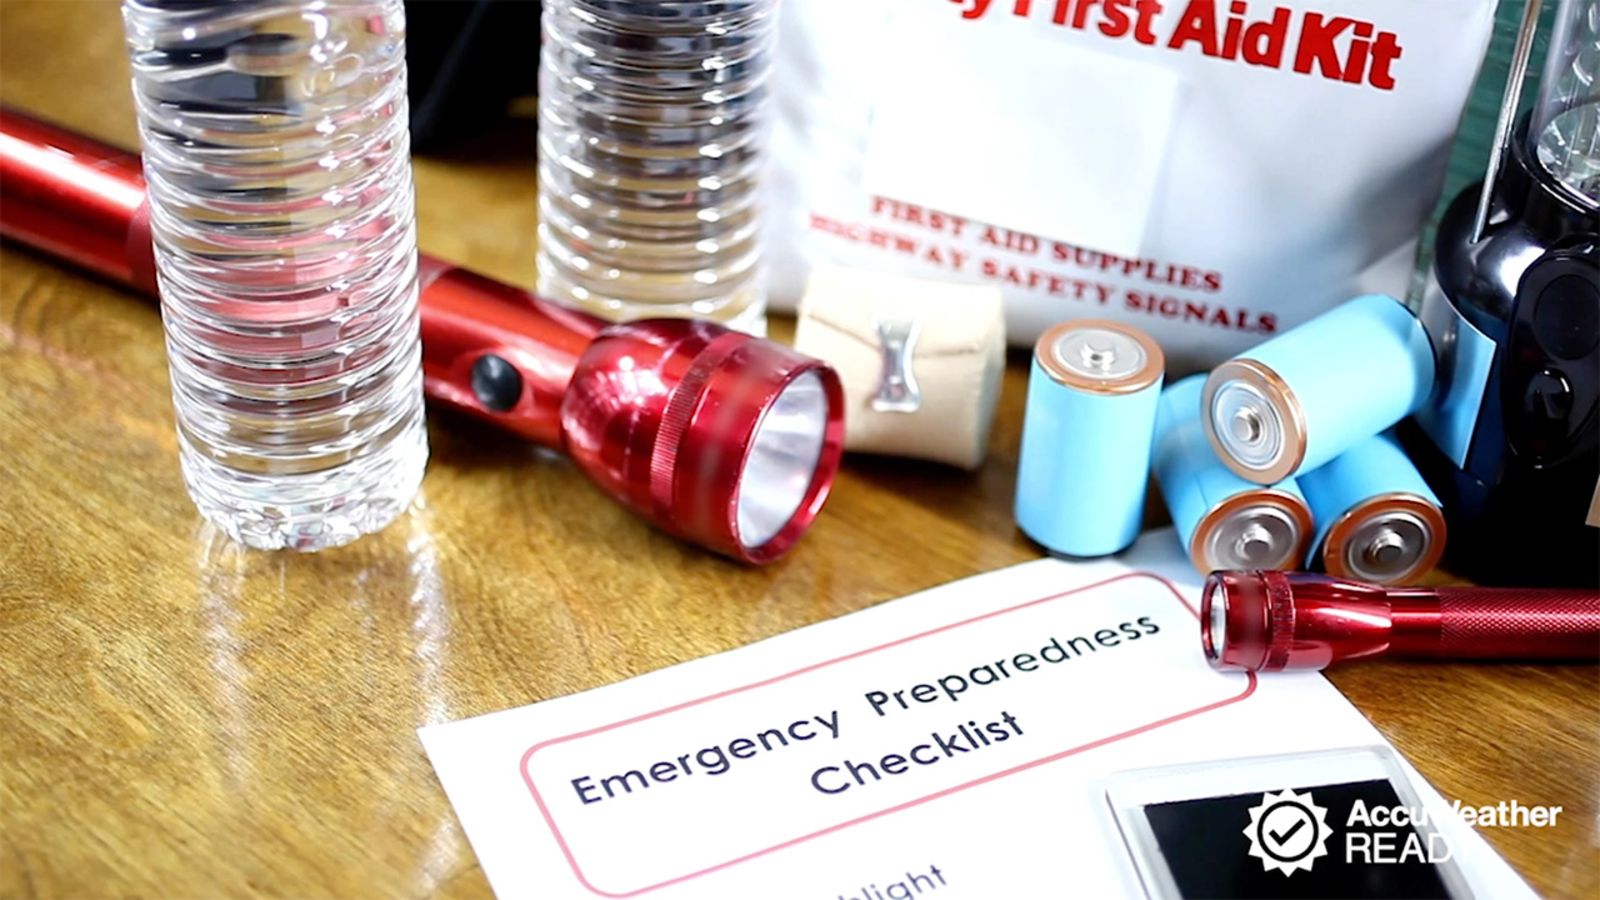
Tools and Equipment: Include a multi-tool or pocket knife, a flashlight with extra batteries, a whistle, a compass, and a small, lightweight shovel for digging. Protective gear like gloves, a hard hat, and safety goggles may also be beneficial.
Personal Items: Pack toiletries, a change of clothing, a small towel, and feminine hygiene products if applicable. A battery-powered radio and extra batteries can provide valuable information during an emergency.
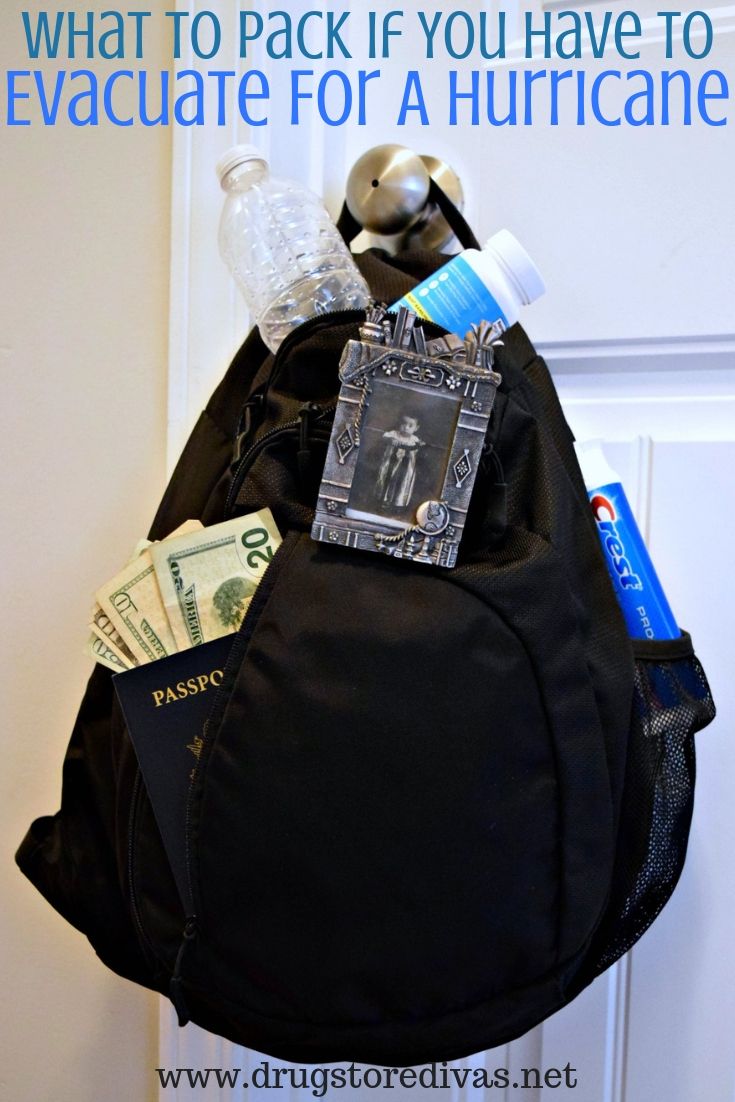
Documents and Money: Keep essential documents like your ID, passport, insurance papers, and a small amount of cash in a waterproof container.
Organizing Your Kit:
Use a sturdy and waterproof container like a backpack or duffle bag that is easy to carry and access.
Group items logically into separate compartments or pouches: food and water, first aid supplies, tools, and personal items.
Label each compartment or pouch clearly so you can easily find what you need in an emergency.
Update and maintain your kit regularly, replacing expired food and water, and checking the condition of other items.
Choosing the Right Supplies:
Consider the specific needs and circumstances of your region and the potential risks you may face. For example, if you live in an area prone to earthquakes, you might want to include a seismic preparedness kit.
Make sure the items in your kit are compact and lightweight, as you may need to carry it for a period of time.
Choose items made from durable materials like metal, plastic, or nylon that can withstand harsh conditions.
Check the expiration dates of food, water, and medications, and replace them before they expire.
Practice and Training:
Familiarize yourself with the contents of your kit and how to use each item. Practice opening the containers, using the tools, and assembling any emergency shelters included in your kit.
Consider taking first aid and wilderness survival courses to enhance your skills and confidence in using your kit.
Having a well-prepared DIY survival kit empowers you to respond effectively to unexpected emergencies and protect yourself and your loved ones. Regular maintenance and practice will ensure that your kit remains functional and ready when you need it the most. Remember, preparation is key to surviving any challenge life throws your way.